When I was a Montessori teacher for 20 years, I learned how to compost with the children at our Montessori school. Now that I am a work-at-home mom, and my son is older, I started composting with him this summer: I combined what I learned as a Montessori teacher with what I had around the house.
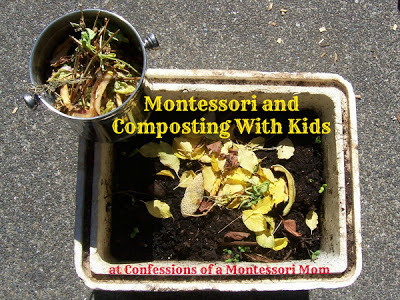
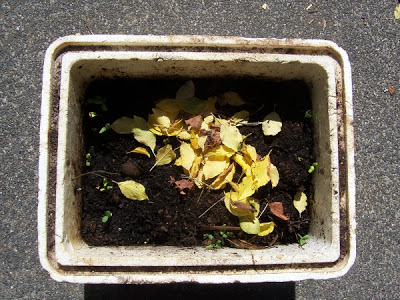
First, I grabbed an old Styrofoam ice chest that was taking up room in our garage. I poked holes in all the sides, including the bottom, with a large screwdriver. Then I layered a little soil and manure on the bottom and watered it just a tad.
Next, I got a basket with handles for my son to gather "brown waste" from our yard: leaves and dried grasses, and small sticks.
We then retrieved our kitchen-counter compost and poured some "green waste" on the compost. FYI: No dairy or meat goes in the compost.
So now we have both brown and green waste together. That's important for healthy compost!
Next, we added a few cups of soil. It is not necessary to add soil. I use it to help the compost decompose faster and to give my son a job to do on a regular basis as part of composting.
Then we added some chicken manure. It is not necessary to add manure. I use it to help the compost decompose faster and to give my son a job to do on a regular basis as part of composting. FYI: There are other manures you can use.
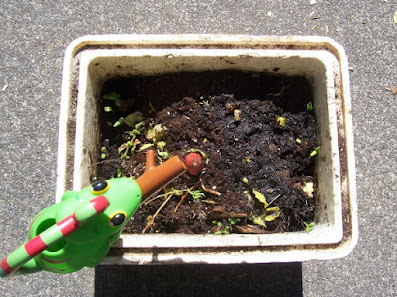
The next step is to sprinkle water on top of the compost. We used my son's frog watering can. Then we covered up the compost with the lid and let it sit for a day or two,
We came back and turned it with a large wooden spoon (later we used a garden tool with four prongs in it).
You do not have to turn your compost. We turn our compost once or twice a week to help it decompose faster and to give my son a job to do on a regular basis as part of composting.
Here are my Montessori tips for composting with children:
1. Use materials that are child sized.
2. Allow the child to choose to do composting as an everyday activity including taking out the kitchen scraps and gathering "brown waste" from the yard. The child should also wash their hands when finished.
3. Talk about what's going on inside the compost. Get books from the library about composting, earthworms, slugs, and fungi.
4. Use the compost material when it's time to plant in the garden in the Springtime.
5. Help the child to take care of all the materials, clean them when necessary, and put them away when finished using them.
6. Allow the child to turn the compost once or twice a week.
Here is an outline of the Montessori botany materials, lessons, and activities to present throughout the year:
1. Planting a seed (germination)
2. Dissecting a real flower
3. Parts of a real plant
2. Dissecting a real flower
3. Parts of a real plant
4. Puzzles
5. Leaf cabinet and cards
6. Botany/plant card sets (classified botany card sets): parts of a tree, parts of a flower, parts of a leaf, parts of a root.
6. Botany/plant card sets (classified botany card sets): parts of a tree, parts of a flower, parts of a leaf, parts of a root.
7. Classified (flower) pictures
8. Planting science experiments
9. Gardening and composting
10. Caring for plants in the environment
8. Planting science experiments
9. Gardening and composting
10. Caring for plants in the environment
~Lisa Nolan
This post has been a part of:


